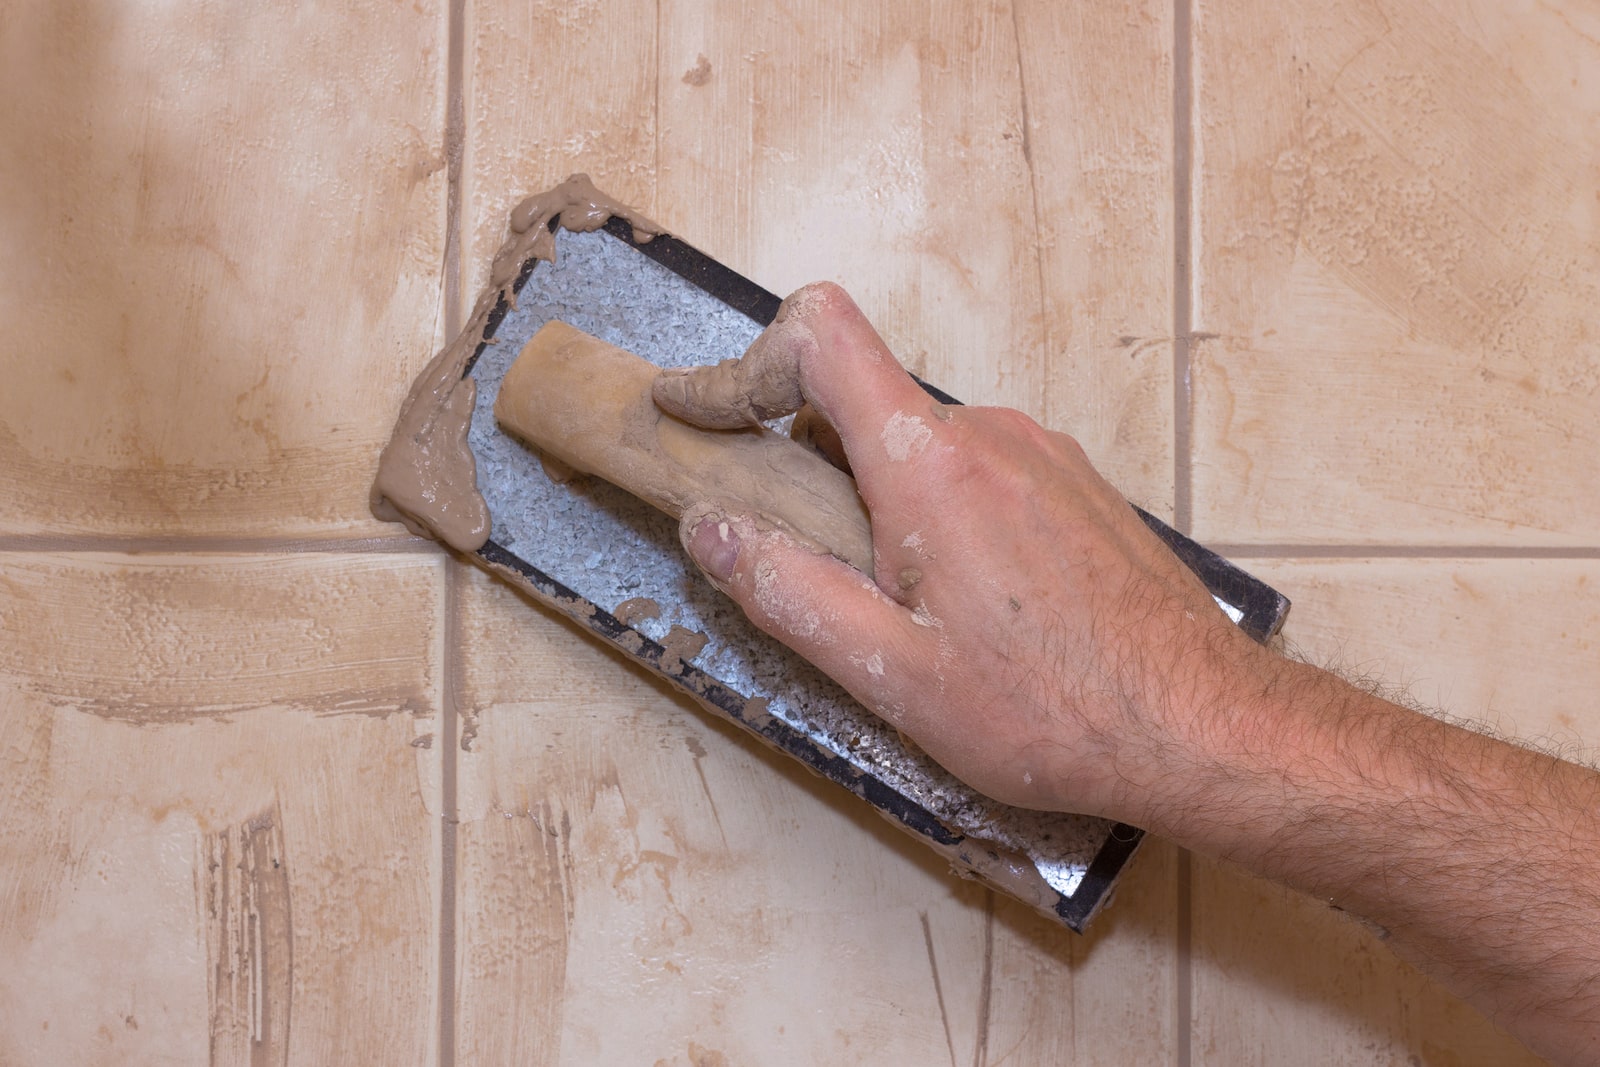
In the age of DIY home improvement just about everyone is looking for someone a project to get started on to improve the overall look and feel of their home.
Unfortunately, home improvement can be expensive, especially if you don’t know which products have cheap alternatives that work just as well, and which ones you’ll have to invest it to get good quality.
Here are some of the best cheap DIY home improvement projects for your home, as well as tips on how you can make them look like they were done professionally:
#1: New Kitchen Backsplash
Cost of this DIY home improvement Project: Approx. $300 depending on space size and chosen tile
A proper backsplash in your kitchen can make a massive difference in how it looks and how easy it is to clean.
We recommend choosing a smooth-tiled backsplash, as they are much easier to wipe down and keep clean. However, if your space’s theme simply isn’t right for that, there are plenty of rough-textured options available as well.
For installing your new backsplash, there are a few things you’ll need:
- Your choice of peel-and-stick tiles
- A tape measure
- Alcohol spray and cloth
- An Exacto knife
- A dry-erase marker
Installing your backsplash is a very simple process. Start by removing any light switch covers and wiping them down with your alcohol and cloth to make sure they’re clean. Then, wipe the wall down with the alcohol solution as well.
Now, start applying your tiles according to their directions. Most types of peel and stick will have a clear or white vinyl you’ll have to peel off before you stick them to the walls. Any spots where you have to have partial tiles will have to be done by tracing the shape of the spot onto the tile and scoring it with an Exacto knife to make sure it breaks cleanly.
After your tile is installed, simply reattach those light switch covers and enjoy!
#2: Retile Your Laundry Room or Kitchen
Cost of Project: $1,000-$2,000 depending on size and tile
Retiling your kitchen floor is an excellent way to elevate your space and get rid of that dreaded linoleum. The materials you’ll need are:
- Tile of choice
- 1-2 gallons of Thinset
- Tile spacers
- Appropriately sized backer board
First, begin by mixing up your Thinset and applying it to the linoleum you’d like to cover up. You can do the entire floor at once or in sections.
Once the Thinset is in place, lay down your backer board. Then, lay out your tiles in the pattern you want using the spacers to separate them. Do this before applying Thinset to the backer board, as it will help you gauge where you might run into problems.
Once finished, pick up sections of the tiles and apply the Thinset mix to the backer board. Then, lay the tile back down, again utilizing the spacers.
When you’ve finished laying the tiles, clean up any wet thin-set that isn’t where you want it to be (it’s very difficult to clean once dry) and allow everything to set. Then, finish the floor by applying grout (see our article on how to properly apply grout to your floor).
#3: Redo Your Cabinetry
Cost of Project: $5-$10 per square foot
After living in a home for a while, your surroundings can understandably get a little… well, dull. You get used to the colors and shapes and it no longer holds the charm it once did.
Our solution? Redoing your cabinetry.
This is an extremely inexpensive project (so long as you have the tools) and can be a fun thing to undertake with your family and bond over!
Here’s what you need:
- A screwdriver
- A sander (we recommend a power sander, but you can do it by hand as well if you have the patience)
- Primer
- Stain or paint of your choice
- Paintbrushes (if staining, you’ll also need cloth of some kind. Old T-shirts will work)
- Sealant
- Painter’s plastic
The process of redoing your kitchen cabinets is very easy. First, lay down your painter’s plastic to catch any stray paint, stain, or wood shavings. remove your cabinet doors using the screwdriver. Then, begin sanding all available cabinet surfaces, including the doors you removed.
Once that’s finished and all of the paint has been removed, begin painting the primer on. Allow it to dry and then add your paint of choice or stain of choice. Regardless of what color or brand you pick, however, it will likely take a few coats.
Then, apply your clear paint/stain sealant and once again wait for it to dry. Once dried, pick up your painter’s plastic and enjoy your new cabinets!
Stop by and pick up your supplies or reach out to us!


